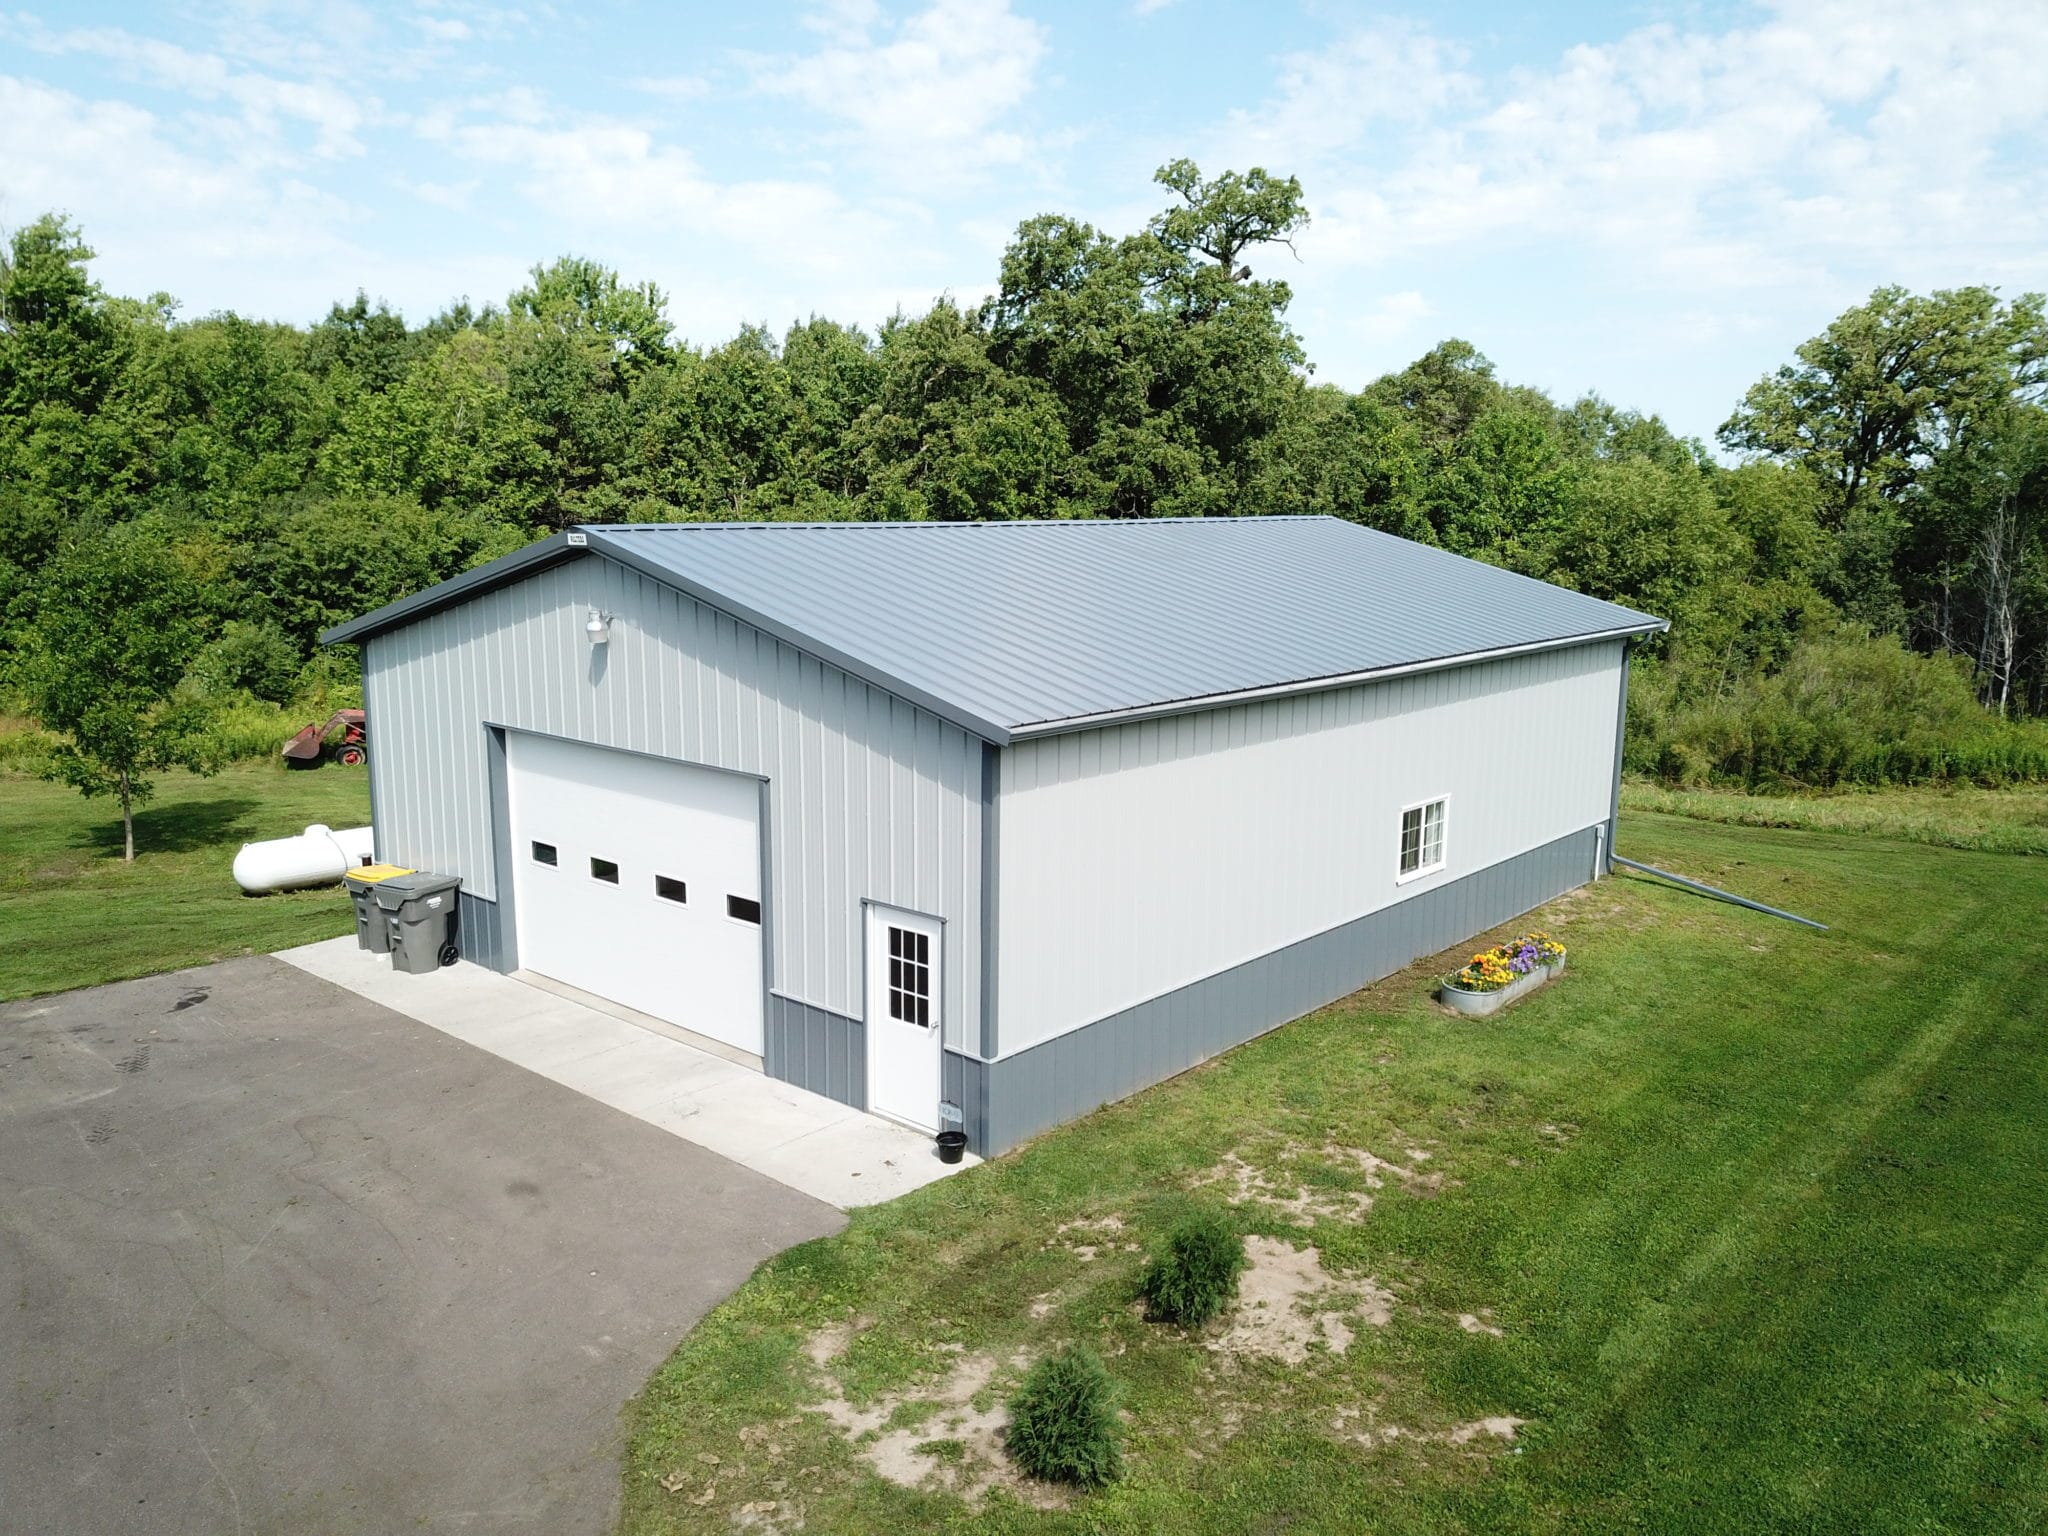
Hey there, DIY enthusiasts! Are you tired of your garage overflowing with lawn equipment, tools, or maybe even a vintage car you're restoring? Or maybe you just need a space to tinker, work on projects, or store your seasonal decorations. Well, guess what? You don't need to shell out a fortune for a fancy pre-built shed. You can build your own pole barn!
Don't let the word "barn" intimidate you. These sturdy structures are incredibly versatile and can be adapted to fit all sorts of needs. Plus, they're a surprisingly achievable DIY project for those with a decent level of skill and some help from friends or family.
Let's break down the process step by step, from planning to construction:
1. Planning Your Pole Barn Paradise:
The first step is to envision your dream barn. What will it be used for? How much space do you need? What kind of doors and windows do you want?
Think about size: How much stuff are you storing? Do you need room for a vehicle? Don't forget to factor in aisles for moving around easily.
Consider the location: Is the site level? Do you have access to utilities? Will you need to pour a concrete foundation or can you use gravel?
Choose your materials: Pole barns typically use pressure-treated lumber for posts, rafters, and girts. For siding and roofing, you have options like metal, wood, or even vinyl.
Budgeting is key: Research costs of materials, permits, and potential labor you'll need.
2. Getting the Green Light:
Before you break ground, make sure you're in compliance with local building codes.
Consult your municipality: Get the necessary permits, and check for setbacks from property lines and other regulations.
Hiring a surveyor: They can help determine the exact location of your barn and ensure everything is aligned properly.
Soil testing: This will determine the bearing capacity of your soil and guide you on foundation requirements.
3. Foundation Fundamentals:
The foundation is the backbone of your pole barn. There are a few options depending on your soil conditions and budget:
Concrete piers: These are ideal for well-drained soil and provide stability. They're typically drilled into the ground and topped with a concrete pad.
Concrete slab: A solid foundation, but it can be more expensive and requires more labor.
Gravel pads: A less expensive option, but they're not as sturdy as concrete and may require some additional reinforcement.
4. Erecting the Pillars of Strength:
Now, it's time to get those posts in place!
Precise placement: Use your survey markers as guides to ensure the posts are aligned perfectly.
Post anchors: Use concrete or metal post anchors to secure the posts firmly in the foundation.
Leveling is crucial: Double-check the posts are perfectly level using a spirit level. This will ensure a stable and square structure.
5. Framing Up Success:
With the posts up, you're ready to start building the frame.
Rafters and girts: These are the horizontal beams that create the roof and walls. Use pre-cut lumber for efficiency and accuracy.
Fasteners: Use strong, corrosion-resistant screws or bolts for secure connections.
Roofing techniques: You can choose from a variety of roofing materials, like metal, shingles, or even a green roof.
Siding solutions: Select the siding that best suits your style and budget â€" metal, wood, vinyl, or even stone.
6. Finishing Touches:
Almost there! Now it's time to make your barn functional and attractive.
Doors and windows: Choose the right size and style to meet your needs. You can even go for overhead garage doors for larger vehicles.
Insulation: Adding insulation can save energy costs and make the barn more comfortable for working in.
Electrical wiring: Install outlets and lighting for convenience and safety.
Flooring options: Depending on your use, you could go with concrete, wood, or even epoxy flooring.
7. The Grand Reveal:
You did it! Now you can finally enjoy your new pole barn.
Clean and organize: Give the barn a thorough cleaning before moving in your belongings.
Add your personal touch: Decorate with shelves, tool organizers, and even a workbench to create a functional and inviting space.
Important Considerations:
Safety first: Wear safety glasses and gloves when working with power tools and sharp materials.
Don't be afraid to ask for help: Enlist friends or family to assist with lifting heavy pieces or complex tasks.
Plan ahead: Create a detailed list of materials and tools needed to avoid delays.
Be patient: Building a pole barn takes time and effort. Take your time, enjoy the process, and celebrate your achievement!
Building a pole barn is a rewarding experience. It allows you to create a space that perfectly suits your needs and adds value to your property. So, get out there, get your hands dirty, and build your own pole barn paradise!


Note: Only a member of this blog may post a comment.