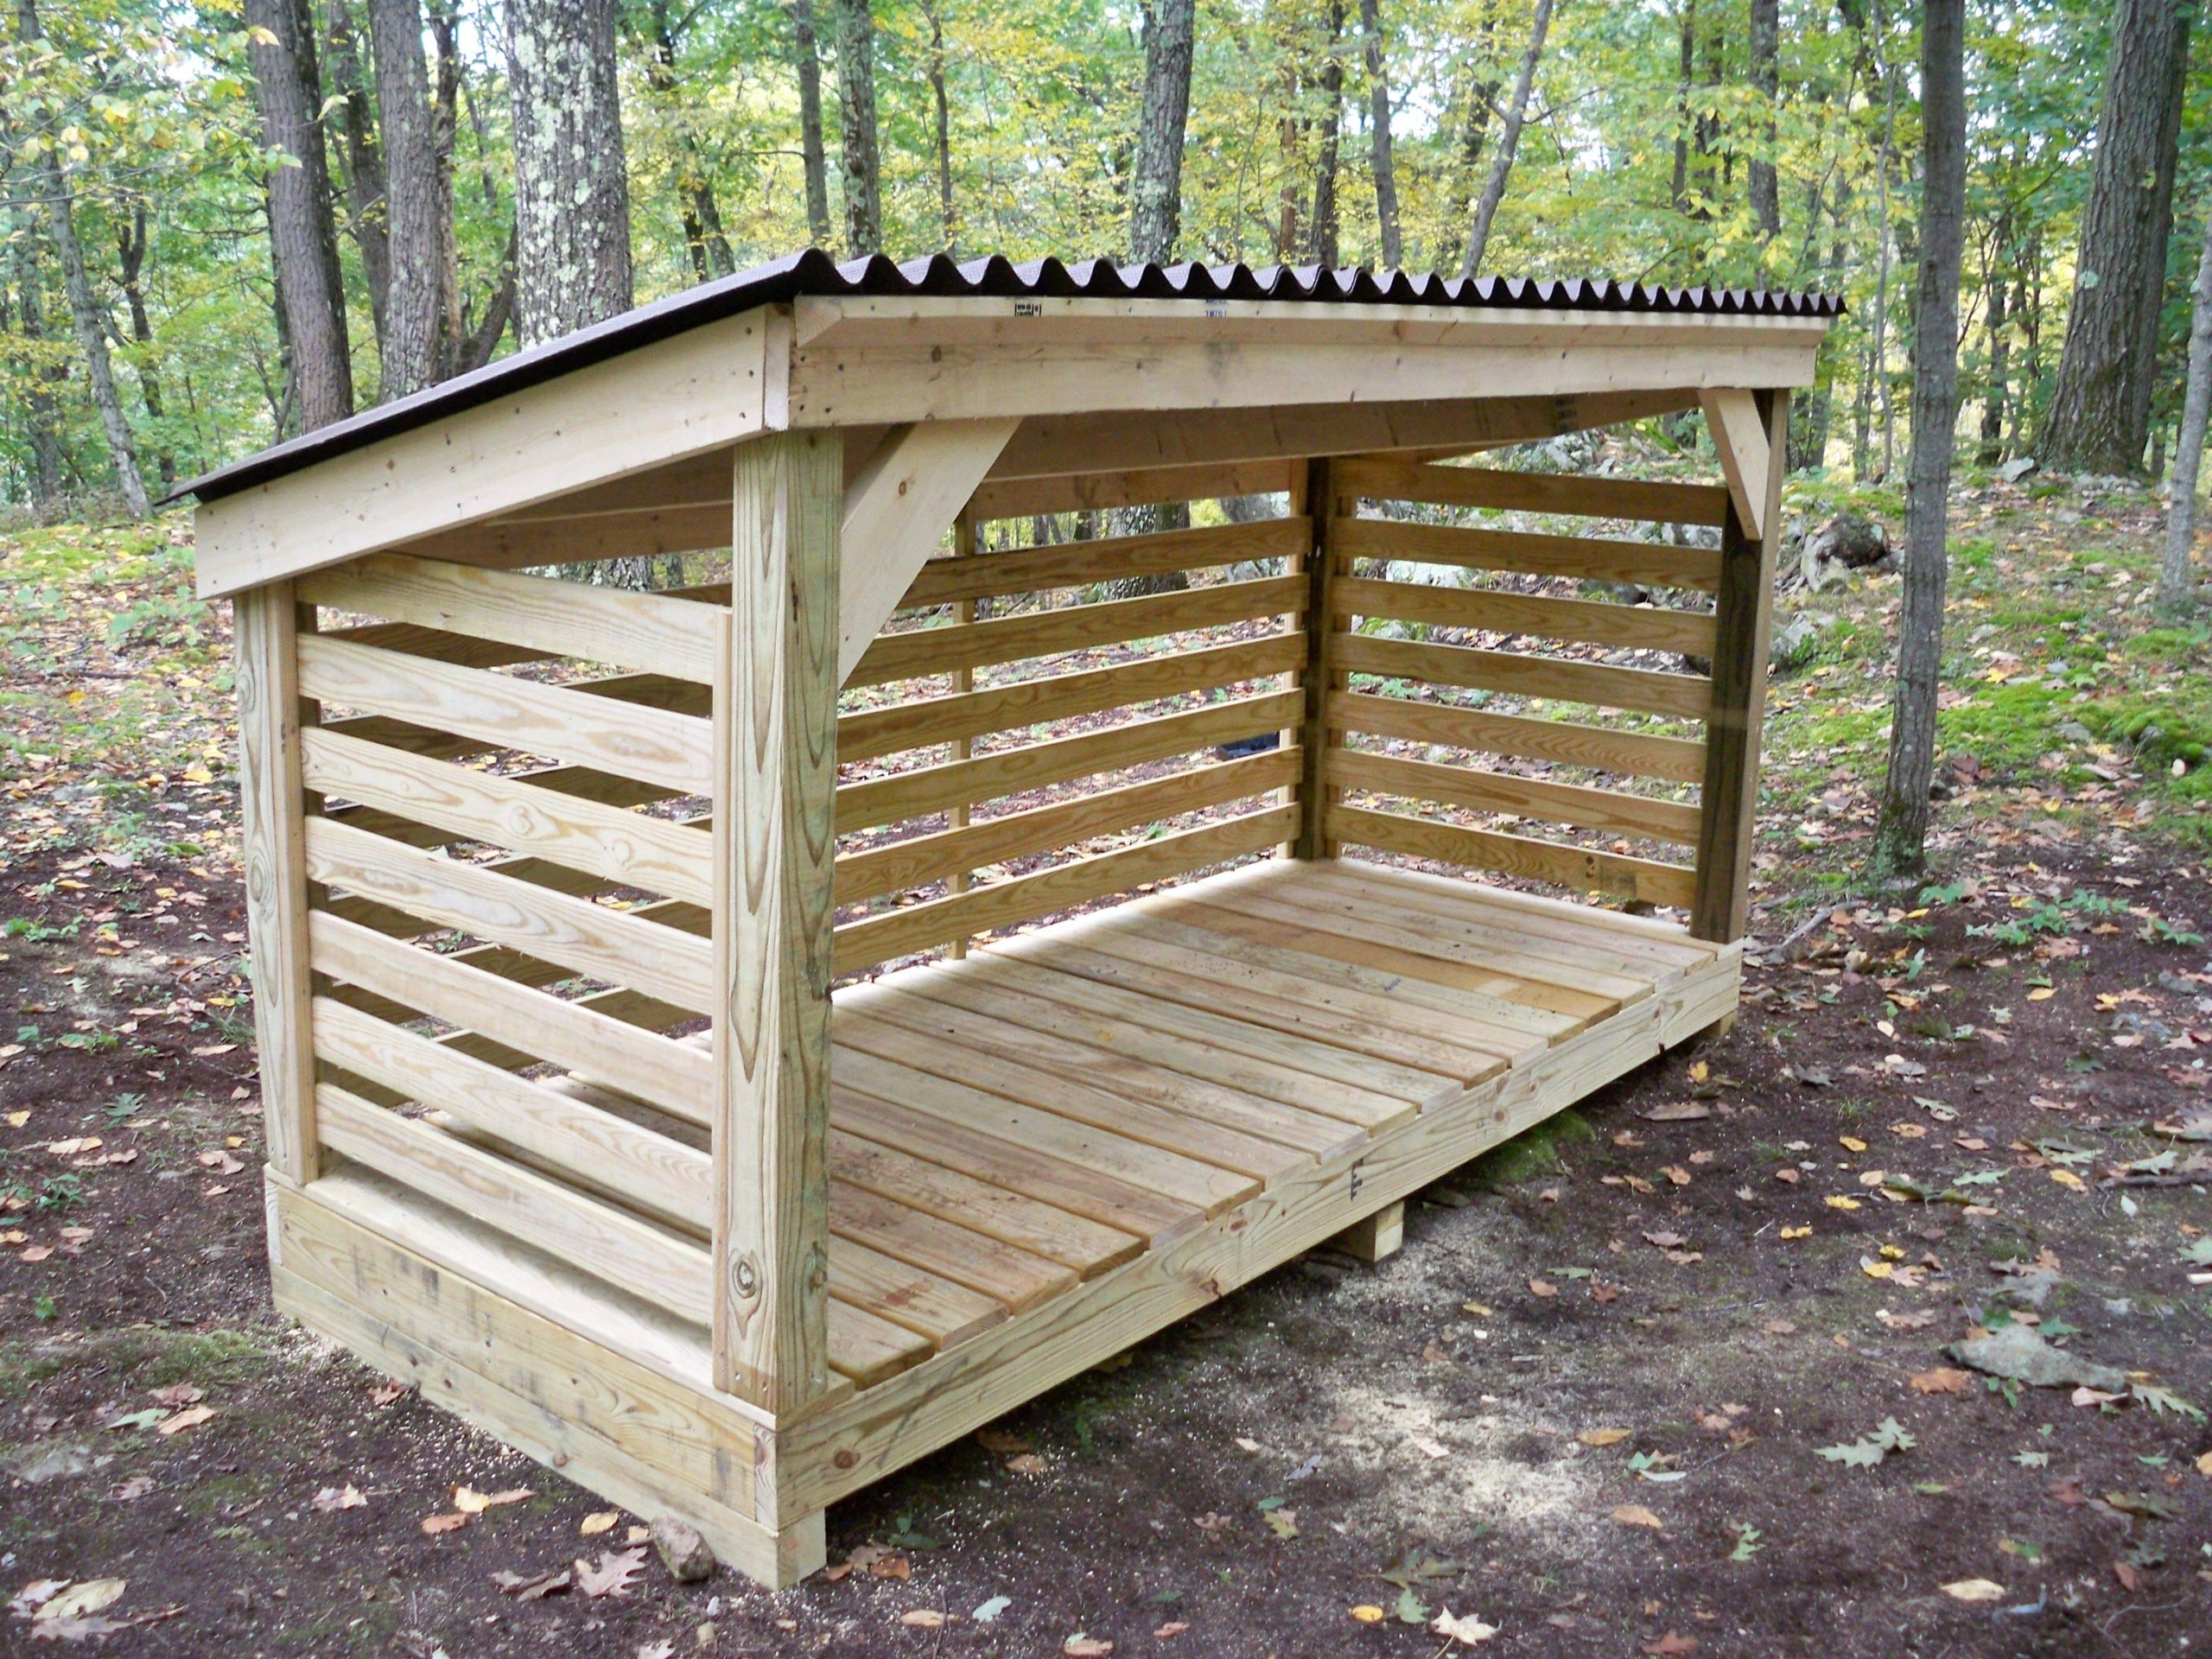
Alright, let's talk firewood. You know the drill - chilly nights, a crackling fire, and a cozy feeling you just can't beat. But let's be real, storing that precious wood outside can be a real pain. Rain, snow, and the occasional rogue squirrel love to make your logs soggy and, well, less than ideal.
That's why we're going to build a firewood storage shed. Not just any shed, mind you, but a sturdy, roofed fortress to protect your winter's warmth. No more soggy logs, no more pesky critters, just a neat pile of firewood ready to fuel those cozy nights.
Step One: Planning Your Firewood Fortress
First things first, let's size things up. How much firewood do you need? Think about your average usage. A small shed for occasional fires is different than a beastly structure for hardcore wood-burners. A good starting point is a 4x8 foot shed, which is plenty of space for most folks.
But hey, don't be afraid to go bigger if you need it. You can even add shelves for kindling or build a separate section for seasoned wood. Speaking of wood, consider what kind you want to use. Pressure-treated lumber is a good bet for the frame, but you can also use regular lumber if you're planning on painting the shed.
Step Two: Getting Down to the Nitty Gritty
Now for the fun part - let's break out the tools! You'll need a few essentials like a saw, hammer, drill, and a level. A tape measure is your best friend here, so make sure you have one handy.
The Foundation: This is where you'll want to choose a flat, level spot for your shed. A simple gravel foundation is usually sufficient, especially if you're not building something massive.
The Frame: Next up, we build the frame. This involves cutting the lumber to size and using construction screws to create a rectangular structure. Pay attention to the dimensions you decided on in step one.
The Walls: Now we're going to create a solid barrier for your firewood. You can use plywood, OSB, or even weather-resistant composite panels for the walls. Attach these securely to the frame using screws or nails.
The Roof: The roof is key to protecting your wood. Choose a simple design that will shed water effectively. A gable roof is a classic choice, but you can also go for a shed roof.
Step Three: The Finishing Touches
Alright, we're almost there. Now for some finishing touches that make your firewood fortress truly awesome.
The Door: We need a way to get our wood in and out, right? Cut a door opening in one of the walls and frame it with lumber. You can use a pre-made door or build your own.
The Siding: If you're feeling fancy, you can add some siding to the outside of your shed. This gives it a polished look and offers extra protection.
The Roof Covering: You'll need something to keep the rain out! Shingles, metal roofing, or even tar paper will work just fine.
The Extras: Don't forget about the little details! A simple latch on the door, some paint for a splash of color, and maybe even a vent to help with airflow.
Step Four: The Grand Opening!
Finally, you've done it! Congratulations, your firewood storage shed is complete! Enjoy the satisfaction of knowing your wood is safe and dry, ready to fuel those cozy nights ahead.
Beyond the Basics: Extra Tips
Ventilation is key: You want airflow to help your wood dry properly. Consider adding a small vent or two to the shed.
Think about your wood: Consider the type of wood you're storing. Softwoods like pine and fir dry faster than hardwoods like oak and maple.
Keep it organized: Stack your wood neatly and avoid overloading the shed.
Make it personal: Add your own touch! Maybe a sign, a flower box, or some decorative elements.
The Firewood Fortress is Yours!
Building a firewood shed isn't just about keeping your wood dry. It's about creating a space where you can store your warmth, a little haven for those cozy evenings by the fire. So, grab your tools, get those logs ready, and let's build something special!


Note: Only a member of this blog may post a comment.