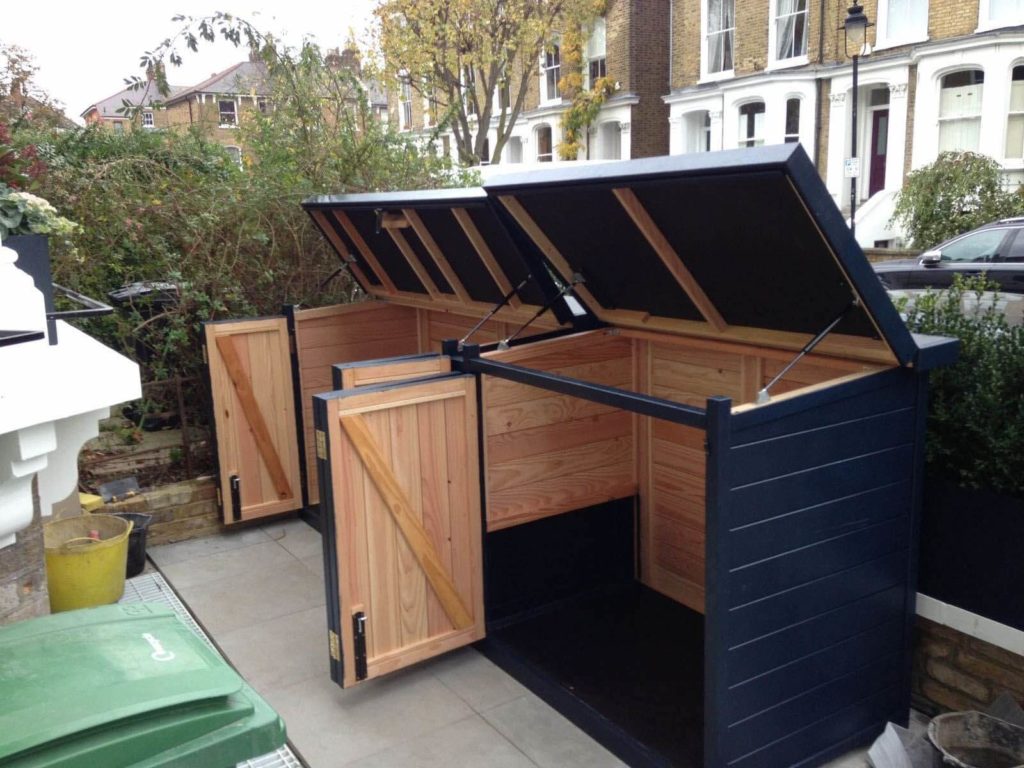
DIY Pallet Shed: A Low-Cost Outdoor Storage Solution for Your Yard
The desire for additional outdoor storage space is a common predicament for homeowners. Traditional shed construction can be expensive and labor-intensive, often requiring specialized tools and significant building expertise. A viable and increasingly popular alternative is the construction of a DIY pallet shed. This approach leverages readily available and inexpensive reclaimed pallets, transforming them into a functional and aesthetically pleasing storage solution while minimizing environmental impact and cost.
Assessing Your Needs and Planning the Project
Before embarking on the construction of your pallet shed, a meticulous planning phase is crucial to ensure a successful outcome. This involves careful consideration of several key factors.
Determining the Shed's Dimensions and Location
The first step is to establish the required dimensions of your shed based on the intended storage capacity. Consider the size and quantity of items you plan to store, leaving sufficient space for easy access and maneuverability. The chosen location should be level, accessible, and compliant with any local building regulations or homeowner association guidelines. Factors such as proximity to power sources, water drainage, and sunlight exposure should also be carefully evaluated.
Sourcing and Preparing the Pallets
Reclaimed pallets are the cornerstone of this project. It is essential to source pallets in good condition, free from significant rot, warping, or pest infestation. Inspect each pallet thoroughly, ensuring the wood is structurally sound and free from protruding nails or staples that could pose safety hazards. Many businesses discard pallets, offering a potentially free or low-cost source of materials. However, ensure you are legally entitled to collect them and be aware that some pallets may be treated with chemicals, requiring appropriate safety precautions.
Once sourced, the pallets may require some preparation. This includes cleaning them to remove any debris or dirt, sanding down any rough edges or splinters, and treating the wood with a suitable sealant or preservative to protect it from the elements and extend its lifespan. The choice of sealant depends on the intended use and the type of wood used in the pallets. Consider using a water-resistant sealant to improve durability and weather resistance.
Gathering Necessary Tools and Materials
Constructing a pallet shed requires a range of tools and materials. A comprehensive list should include:
- Measuring tape and level
- Hammer and pry bar
- Screwdriver (or drill with appropriate bits)
- Safety glasses and gloves
- Wood screws (galvanized for outdoor use)
- Wood sealant or preservative
- Optional: Roofing material (e.g., corrugated metal or polycarbonate sheets)
- Optional: Plywood or sheet metal for siding or additional reinforcement
- Optional: Hinges and a latch for the door
The specific tools and materials required will vary based on the design complexity and desired features of your pallet shed. Prioritize safety by using appropriate personal protective equipment throughout the construction process.
Constructing the Pallet Shed: A Step-by-Step Guide
The construction process itself involves assembling the pallets into a stable and structurally sound shed. There are numerous design variations, offering flexibility based on personal preference and available resources. This guide outlines a basic framework.
Foundation and Base Construction
A solid foundation is essential for the longevity of your pallet shed. A simple concrete slab or compacted gravel base can provide stability and prevent sinking or shifting. The size of the base should correspond to the dimensions of the planned shed. Ensure the base is level to ensure the structure stands evenly.
Assembling the Pallet Walls
The pallet walls are built by stacking and securing the pallets together. Use long, galvanized screws to join the pallets, ensuring sufficient fasteners for stability. The number of pallets required will depend on the height and length of the shed. Consider using longer pallets for taller walls. Strategic placement of pallets is important for minimizing gaps and enhancing the overall structural integrity. You might need to cut and adjust certain pallets to fit perfectly within the design.
Creating the Roof
The roof design is critical for weather protection. A simple gable roof is a common choice, involving the use of additional pallets or plywood for support beams and rafters. Ensure the roof slopes sufficiently to allow rainwater to drain effectively. You can then cover the roof with chosen roofing material, securing it firmly in place to prevent leaks.
Adding a Door and Finishing Touches
A functional door is crucial for easy access to the storage space. This can be created using additional pallets, reinforced with plywood for added strength and stability. Install hinges and a secure latch to complete the door assembly. Consider adding additional features such as shelves or hooks inside the shed to maximize storage capacity. A final coat of sealant or paint can enhance both the aesthetics and the durability of your pallet shed.
Safety Considerations and Legal Aspects
Safety should be the paramount concern throughout the entire process. Always wear appropriate safety gear, including safety glasses and gloves. Be cautious when handling sharp objects such as nails and screws, and inspect pallets carefully for potential hazards before use. Consult local building regulations to ensure your shed complies with all legal requirements. Obtain any necessary permits before commencing construction.
Remember that the longevity and stability of your pallet shed rely heavily on the quality of the materials used and the precision of the construction process. While a DIY project can be cost-effective, investing time in careful planning and execution will result in a robust and functional outdoor storage solution.
Conclusion
Building a DIY pallet shed is a rewarding project that combines cost-effectiveness with environmental responsibility. By utilizing readily available materials and following careful planning, homeowners can create a valuable addition to their outdoor space. This guide serves as a foundation for this endeavor; remember to adapt the plans to your specific needs and resources, ensuring safety and compliance with all applicable regulations throughout the process.


Note: Only a member of this blog may post a comment.